
Kotlin has emerged as a big player among modern technology. With Google providing first hand support and announcing it as the official language for Android Development it is clear that Kotlin is here to stay.
Since Kotlin incorporates both, functional programming and object oriented programming it can be used for more than just Android Development. In this article we will cover the creation of a simple REST API using Kotlin.
Spring Boot is one of the more popular frameworks for creating web services. Spring Framework 5 comes with Kotlin support. This means that Spring Boot 2.x will have first class support for Kotlin.
Let us walk through the process of creating a simple REST controller with Spring Boot.
We will be using the intellj IDE for our development and Gradle as our build tool (Maven can also be used to achieve similar results).
Lets try to achieve this one step at a time.
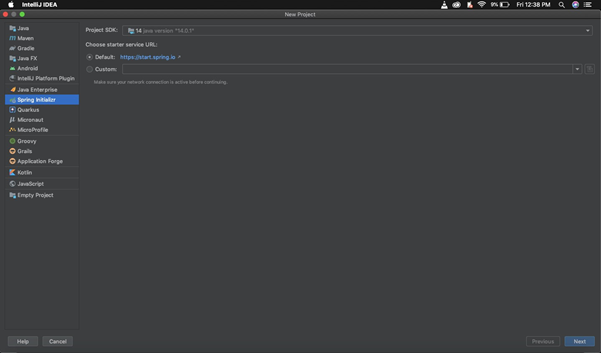
- Create a new project using the + New Project button and select ‘Spring Initializer’ and click next.
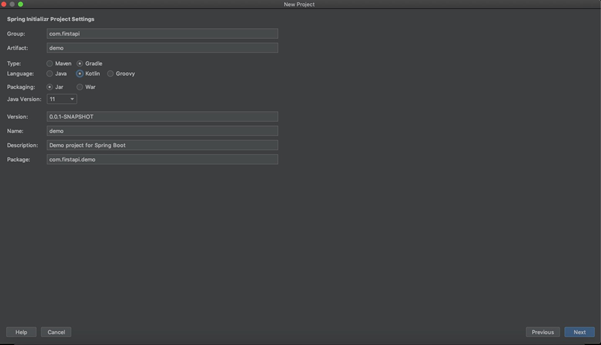
2. Give a name to your group and artifact. Select Type as Gradle and language as Kotlin and we will be using JAR packaging for our project and click next.
3. We will be using the latest stable version of Spring so select that from the options available.
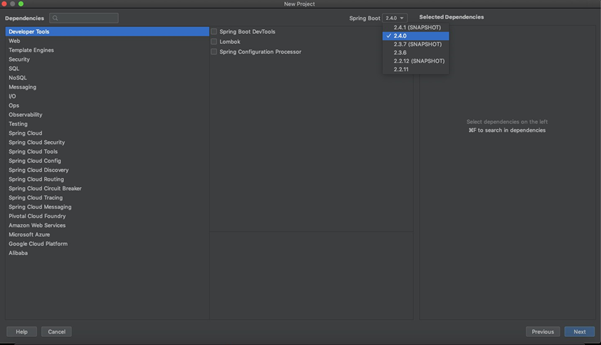
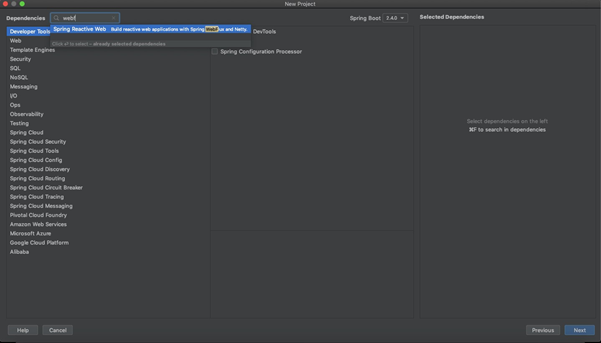
4. We can also search for and select which spring boot starters we want to use. Since this will be a react REST service we want reactive web. Select and click Next.
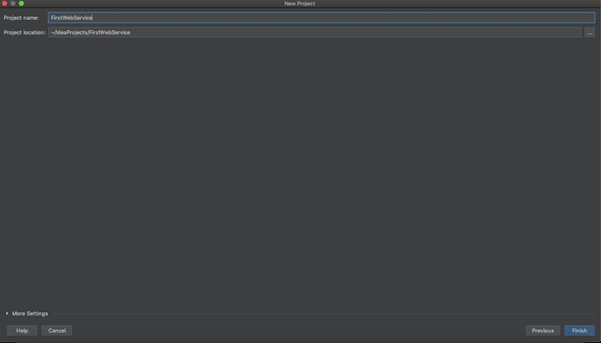
5. Give your project a name and click Finish.
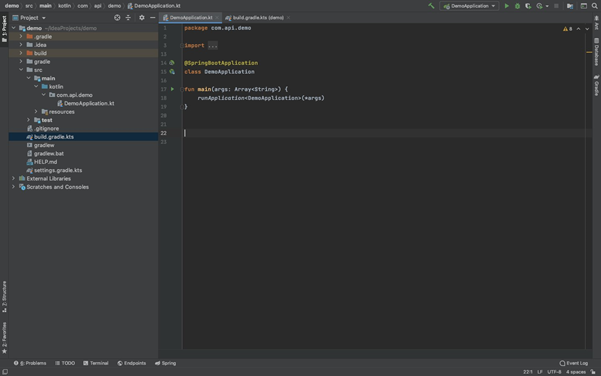
6. After the project builds we can see a Kotlin directory has been created along with a standard default Spring boot application class.
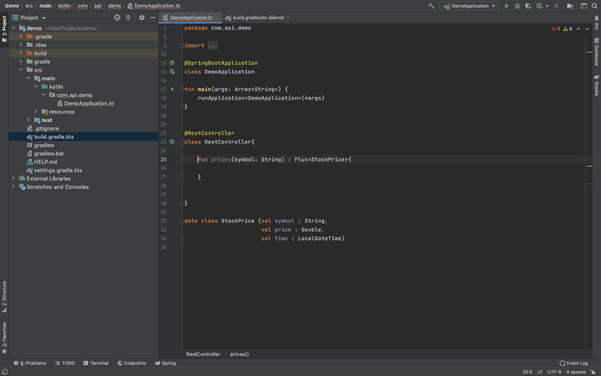
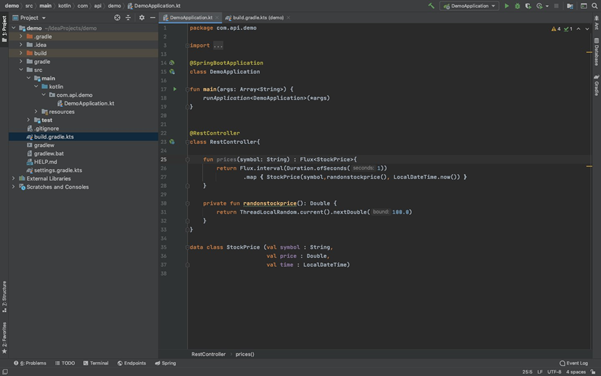
7. We will not create a RestController class. To keep things simple we will put it in the same Kotlin file. We will use the @RestController annotation and create a simple method which will return Flux, a constant stream of data.(This is where the reactive part comes in).
8. As a modal we will create a Kotlin data class which will accept 3 parameters in its constructor. (These will be returned in the Api response.)
9. Now, We will return Flux from our prices method. We will be using the interval method for returning the prices at 1 second interval. Prices will be generated randomly between 0 to 100.
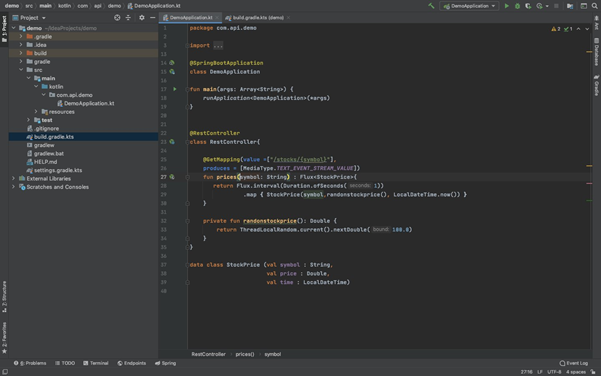
10. Since we want to access this method by an HTTP Get call we need to add @GetMapping annotation to it. We will give it a path identifying it as a string parameter.(denoted by value). We also want to define what the response will look like, we are going to use TEXT_EVENT_STREAM_VALUE so this is a server sent event streaming endpoint.
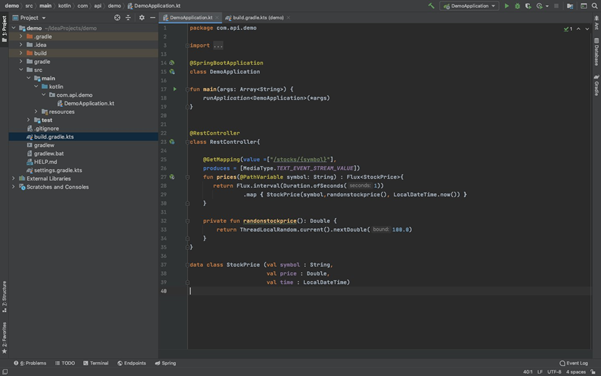
11. One final warning that the IDE has detected is we are using a path variable but we haven’t defined it in the method parameters. So we will add @PathVariable annotation to our method parameter.
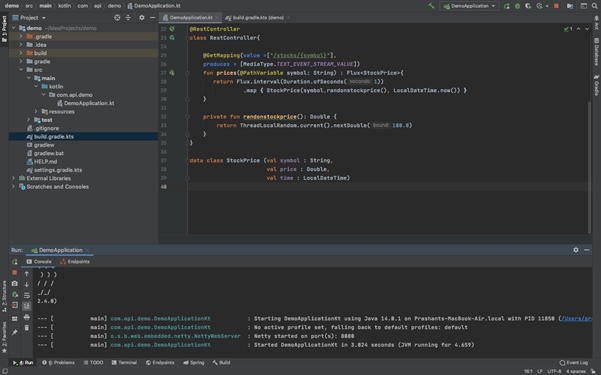
12. Now if we run the application, we can see it starts up correctly.
13. If we open a web browser and navigate to the path that we defined we will see the events tick once a second with prices represented as a JSON string.
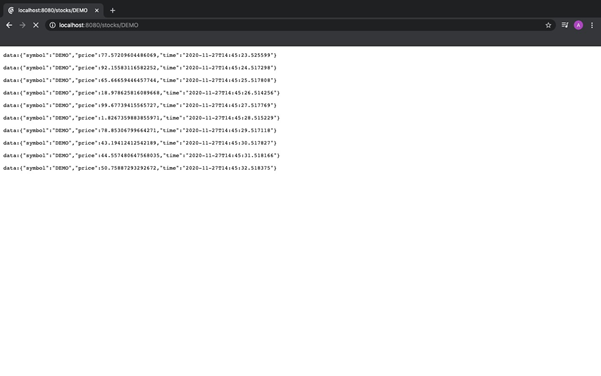
So we have created a simple Kotlin Spring Boot application that uses reactive streams to emit randomly generated prices.
It solidifies the role of Kotlin as a powerful language not only for mobile development but also for server side.