

Hello readers, today we are going to learn about higher-order components, the syntax of higher-order components, as well as a few use cases for them. In the process, we will build a higher-order component from an existing React component. By the end of this tutorial, you will understand the basics of higher-order components and how to build them.
Higher-order components (HOCs) in React were inspired by higher-order functions in JavaScript. A HOC is an advanced technique for reusing logic in React components. It is a pattern created out of React’s compositional nature.
HOCs basically incorporate the don’t-repeat-yourself (DRY) principle of programming, which you’ve most likely come across at some point in your career as a software developer. It is one of the best-known principles of software development, and observing it is very important when building an application or writing code in general.
Are you excited yet? In this tutorial, we are going to learn what a HOC is, its basic structure, some use cases, and finally an example.
Higher-Order Functions In JavaScript
Lets understand a bit of HOF in JavaScript before we actually jump into HOCs in React. Understanding them is critical to understanding our topic of focus.
Higher-order functions in JavaScript take some functions as arguments and return another function. They enable us to abstract over actions, not just values, They come in several forms, and they help us to write less code when operating on functions and even arrays.
The most interesting part of using higher-order functions is composition. We can write small functions that handle one piece of logic. Then, we can compose complex functions by using the different small functions we have created. This reduces bugs in our code base and makes our code much easier to read and understand.
JavaScript has some of these functions already built in. Some examples of higher-order functions are the following:
.forEach()
This iterates over every element in an array with the same code, but does not change or mutate the array, and it returns undefined..filter()
This checks every single element in an array to see whether it meets certain criteria as specified in thefiltermethod, and then it returns a new array with the elements that match the criteria..map()
This method transforms an array by applying a function to all of its elements, and then building a new array from the returned values..reduce()
This method executes a provided function for each value of the array (from left to right).
So many higher-order functions are built into JavaScript, and you can make your own custom ones. Want to learn how ? Ok I heard you, let's see it in action.
CUSTOM HIGHER-ORDER FUNCTION in JAVASCRIPT
Lets suppose we are asked to write a function that formats integers as currencies, including some customization of specifying the currency symbol and adding a separator (comma or dot) for the currency amount. We can write a higher-order function that takes the currency symbol and also the separator. This same function would then format the value passed to it with the currency symbol and separators. We would name our higher-order function formatCurrency.
const formatCurrency = function(
    currencySymbol,
    decimalSeparator  ) {
    return function( value ) {
        const wholePart = Math.trunc( value / 100 );
        let fractionalPart = value % 100;
        if ( fractionalPart < 10 ) {
            fractionalPart = '0' + fractionalPart;
        }
        return   `${currencySymbol}${wholePart}${decimalSeparator}${fractionalPart}`;
    }
}
formatCurrency returns a function with the fixed currency symbol and separator which we pass during initialization.
We then pass the formatter a value, and format this value with the function by extracting its whole part and the fractional part. The returned value of this function is constructed by a template literal, concatenating the currency symbol, the whole part, the decimal separator, and the fractional part.
Let’s use this higher-order function by assigning a value to it and seeing the result.
> formatRupees = formatCurrency( '₹', '.' );

> formatRupees( 6583 )
"₹65.83" //formatted value

> formatRupees( 2001 )
"₹20.01" //formatted value
Please observe that we created a variable named formatRupees, then assigned our formatCurrency higher-order function, and then passed the currency formatters to the function, which is the currency symbol and a decimal separator. To make use of the function, we call formatRupees, which is now a function, and we pass in the value that needs to be formatted.
That’s all! We have created a custom higher order of our choice. :-)
What Is A Higher-Order Component?
A higher-order component (HOC) is an advanced element for reusing logic in React components. Components take one or more components as arguments, and return a new upgraded component. Sounds familiar, right? They are similar to higher-order functions, which take some functions as an argument and produce a new function. you can read more here
HOCs are commonly used to design components with certain shared behavior in a way that makes them connected differently than normal state-to-props pattern.
Things to remember about HOC
- We don’t modify or mutate components. We create new ones.
- A HOC is used to compose components for code reuse.
- A HOC is a pure function. It has no side effects, returning only a new component.
Structure Of A Higher-Order Component
The snippet below shows how a HOC is structured in React:
import React from 'react';
// Take in a component as argument WrappedComponent
const higherOrderComponent = (WrappedComponent) => {
   // And return another component
  class HOC extends React.Component {
    render() {
      return <WrappedComponent />;
    }
  }
  return HOC;
};
We can see that higherOrderComponent takes a component (WrappedComponent) and returns another component inside of it. With this technique, whenever we need to reuse a particular component’s logic for something, we can create a HOC out of that component and use it wherever we like.
Summary:
A HOC is exactly structured like a higher-order function:
- It is a component.
- It takes another component as an argument.
- Then, it returns a new component.
- The component it returns can render the original component that was passed to it.
Use Cases
In my experience as a front-end engineer who has been writing React for a while now, here are some of the commonly used use cases of HOCs.
Use case 1: Show a loader while a component waits for data
Most of the time, when building a web application, we would need to use a loader of some sort that is displayed while a component is waiting for data to be passed to its props. We could easily use an in-component solution to render the loader, which would work, but it wouldn’t be the most elegant solution. Better would be to write a common HOC that can track those props; and while those props haven’t been injected or are in an empty state, it can show a loading state.
To explain this properly, let’s build a sample app, using an open API. We tend to handle list-loading, so that our clients don’t panic when the API we are getting data from takes so much time to respond.
Let’s generate a React app to see it in action:
npx create-react-app repos-list
We will create a simple component can be written as follows:
//List.js
//Author: Alok Ranjan Daftuar
//
import React from 'react';
//
const List = (props) => {
  const { repos } = props;
  if (!repos) return null;
  if (!repos.length) return <p>No repos, sorry</p>;
  return (
    <ul>
      {repos.map((repo) => {
        return <li key={repo.id}>{repo.full_name}</li>;
      })}
    </ul>
  );
};
export default List;
Here we are basically saying that, if after fetching has completed and the repos prop is still empty, then it should return null. We are also carrying out a conditional render here: If the length of the repos prop is still empty, then it should render “No repos, sorry” in our browser. Otherwise we will run through the repos array list to show their full names, with a unique key for each entry.
Now, let’s write a HOC that handles loading, to make our users happy.
//withLoading.js
//Author: Alok Ranjan Daftuar
//
import React from 'react';
function WithLoading(Component) {
return function WihLoadingComponent({ isLoading, ...props }) {
if (!isLoading) return <Component {...props} />;
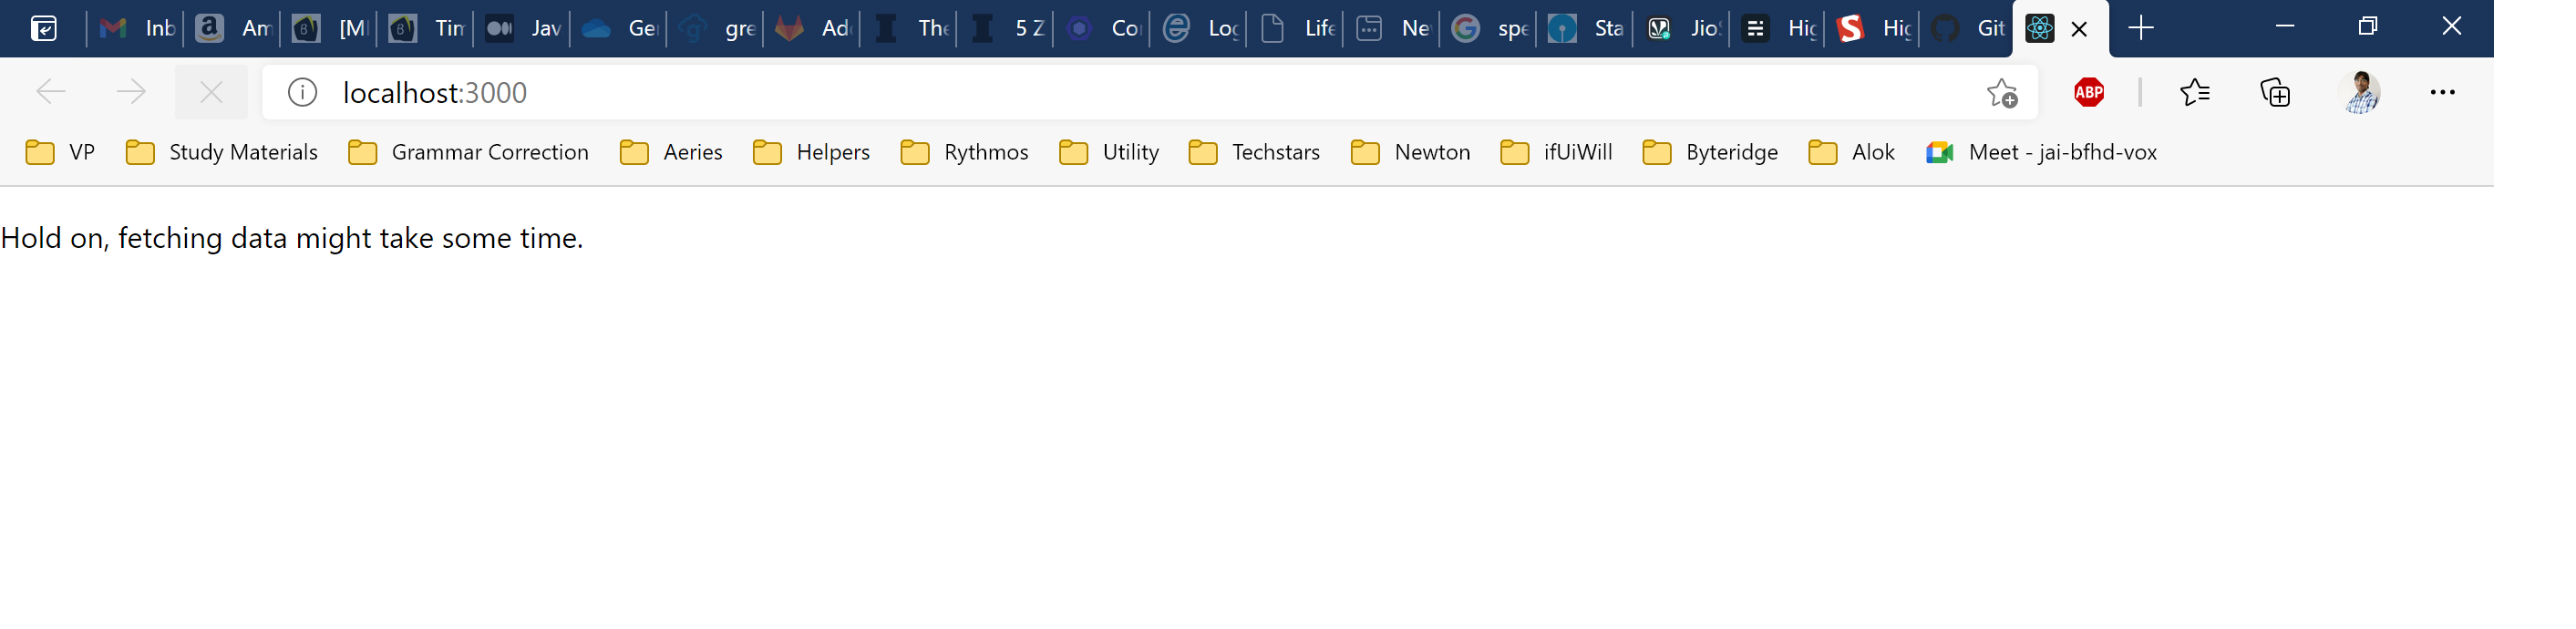
return <p>Hold on, fetching data might take some time.</p>;
};
}
export default WithLoading;
This would display the text “Hold on, fetching data might take some time” when the app is still fetching data and the props are being injected into state. We make use of isLoading to determine whether the component should be rendered.
Now, in your App.js file, you could pass the loading logic to WithLoading, without worrying about it in your List .
import React from 'react';
import List from './components/List.js';
import WithLoading from './components/withLoading.js';
// calling our HOC
const ListWithLoading = WithLoading(List);
//
class App extends React.Component {
  state = {
  loading: false,
    repos: null,
  };
  componentDidMount() {
    this.setState({ loading: true });
    fetch(`https://api.github.com/users/aloknecessary/repos`)
      .then((json) => json.json())
      .then((repos) => {
        this.setState({ loading: false, repos: repos });
      });
  }
  render() {
    return (
      <ListWithLoading
        isLoading={this.state.loading}
        repos={this.state.repos}
      />
    );
  }
}
export default App;

While the page is still trying to pull data from the API, our HOC will render the loading text in the browser. When loading is done and the props are no longer in an empty state, the repos will be rendered to the screen.
Use case 2: Conditionally Render Components
Suppose we have a component that needs to be rendered only when a user is authenticated — it is a protected component. We can create a HOC named WithAuth() to wrap that protected component, and then do a check in the HOC that will render only that particular component if the user has been authenticated.
A basic withAuth() HOC, according to the example above, can be written as follows:
// withAuth.js
//Author: Alok Ranjan Daftuar
//
import React from "react";
export function withAuth(Component) {
    return class AuthenticatedComponent extends React.Component {
        isAuthenticated() {
            return this.props.isAuthenticated;
        }

        render() {
            const loginErrorMessage = (
                <div>
                    Please <a href="/login">login</a> in order to view this part of the application.
                </div>
            );

            return (
                <div>
                    { this.isAuthenticated === true ? <Component {...this.props} /> : loginErrorMessage }
                </div>
            );
        }
    };
}

export default withAuth;
Note: we must pass this.props.isAuthenticated from our application’s logic. (Or else use react-redux to retrieve it from the global state.)
Lets make use of our HOC in a protected component, we’d use it like so:
// PrivateComponent.jsx
// Author: Alok Ranjan Daftuar
//
import React from "react";
import {withAuth} from "./withAuth.js";

export class PrivateComponent extends React.Component {

    render() {
        return (
            <div>
                Accessible only to authenticated users.
            </div>
        );
    }
}

// Now wrap PrivateComponent with the requireAuthentication function

export default withAuth(PrivateComponent);
Use case 3: Provide Components With Specific Styling
Continuing the use case above, based on whatever UI state you get from the HOC, you can render specific styles for specific UI states. For example, if the need arises in multiple places for styles like backgroundColor, fontSize and so on, they can be provided via a HOC by wrapping the component with one that just injects props with the specific className.
Take a very simple component that renders “hello” and the name of a person. It takes a name prop and some other prop that can affect the rendered JavaScript XML (JSX).
// SayHelloComponent.jsx
//Author: Alok Ranjan Daftuar
//
const SayHelloComponent = ({ name, ...otherProps }) => (
  <div {...otherProps}>Hello {name}!</div>
);

export default SayHelloComponent;
Now let’s create a HOC named withStyle that adds some styling to the “hello” text.
// withStyle.js
//Author: Alok Ranjan Daftuar
//
const withStyle = (BaseComponent) => (props) =>
  <BaseComponent {...props} style={{ fontWeight: 700, color: "blue" }} />;

export default withStyle;
Lets use our withStyle HOC on our SayHelloComponent.
We wrap the HOC around the basic component to create a new pure component, named StyledHello.
const StyledHello = withStyle(SayHelloComponent);
And now instead of using SayHelloComponent, we call the StyledHello component:
<StyledHello name='Alok' />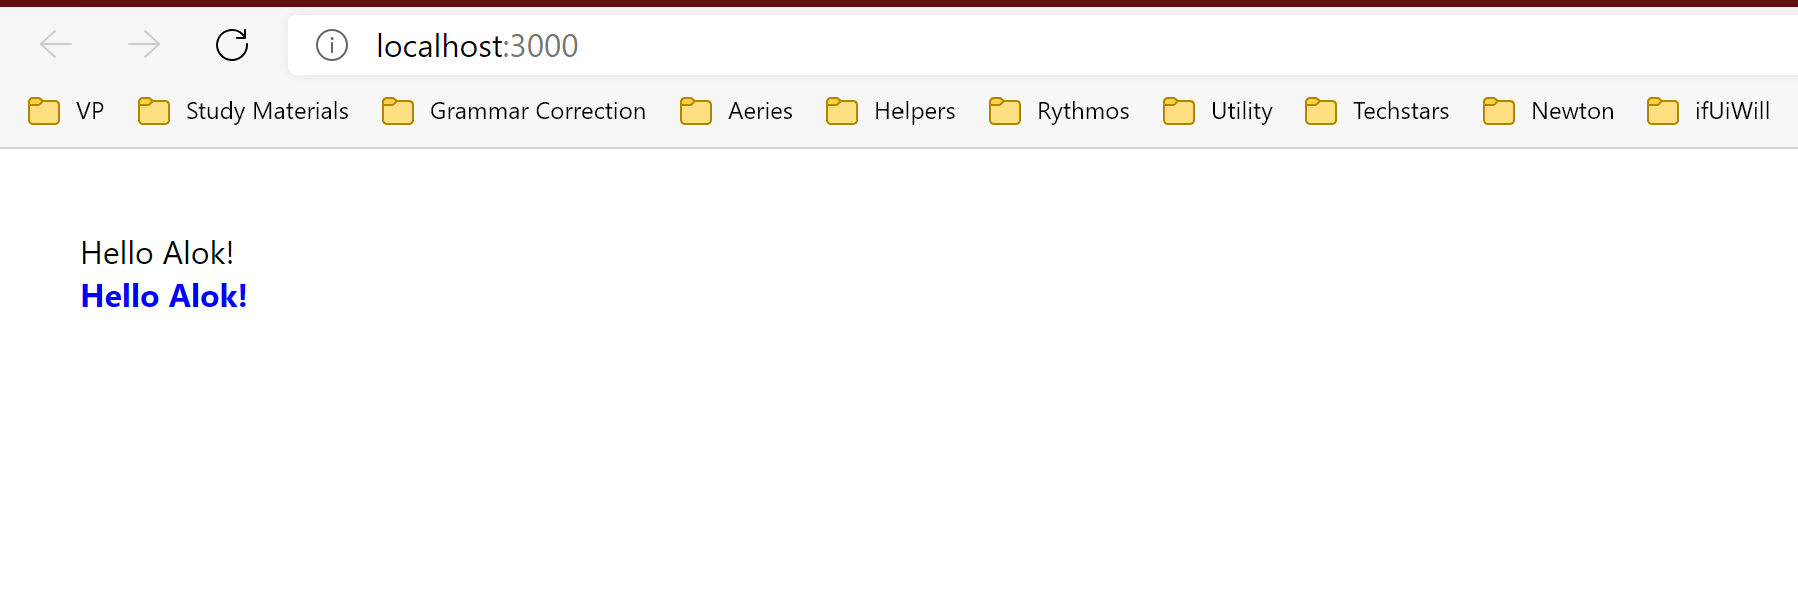
That's all folks, I hope you must have enjoyed it. You may get the above samples from here. Stay tuned, more articles on the way. Thank you!