
Since Arduino boards have become something of a standard for making and DIY projects, many other boards have adapted their systems to be programmed within the Arduino IDE. One of the most interesting modules out there is the ESP8266, WeMos D1 Mini board is amazing board isn’t much bigger than a quarter and includes 11 digital I/O pins as well as a single analog pin, all for a price well under ₹300.

The project aims at developing a web application which makes use of phone / tablet / PC which contains a WiFi module in it . The model contains two products one of them is R.C Car and other a Bulb which is controlled by mobile . This system also controls the source movability and power generation on R.C Car and Bulb over IOT (Internet of Things) application. By using this project we can create a application on Home Automation which can connect a number of power generation appliances and source availability from remote location.
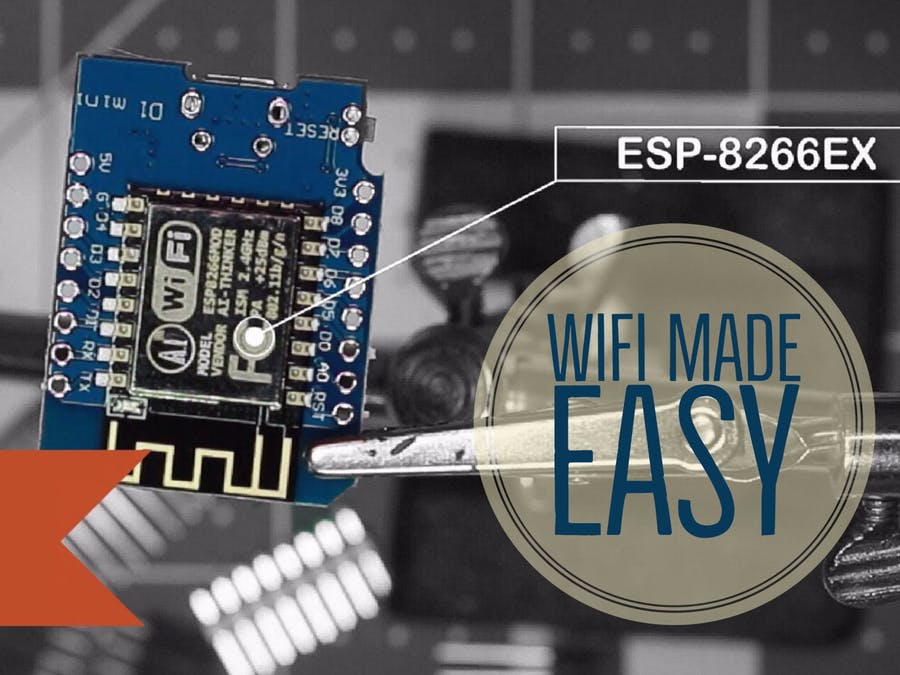
This project concerns building an Wireless module guide which is Wemos d1 mini, having Wi-Fi chip as the primary network source which acts as an connectivity to a other source which is a Mobile or an tablet. While connecting it to the phone or table we need to open the port to it which takes you to the page which is used to control. Advantages and Disadvantages of WiFi in a location is distance and context-based environment like this. Another goal was to research and test the different types of commands that is given implemented and supported Wi-Fi hardware, which we had available.As a result we developed the Wireless application using Arduino IDE for Linux or windows, as the coding part written in it, and using a Wemos with Mobile with Wi-Fi connectivity in it for the client .The WeMos D1 mini is a miniature wireless 802.11 (Wi-Fi) micro-controller development board. It turns the very popular ESP8266 wireless micro-controller module into a fully fledged development board.Programming the D1 mini pro is as simple as programming any other Arduino based micro-controller as the module includes a built in micro USB interface allowing the module to be programmed directly from the Arduino IDE (requires the ESP8266 support to be added via board manager) with no additional hardware.
The install procedure
After receiving it, my first job was to get it to a state where I could interface and program it with the Arduino IDE. As I already had the Arduino IDE installed, the next step was to download and install the Windows drivers for it from the WeMos website.I then set up the Arduino IDE to work with the D1 Mini by entering the additional boards manager under File > Preferences and entering this link
[http://arduino.esp8266.com/stable/package_esp8266com_index.json] in the “additional boards manager URLs” box. After this, I opened the boards manager under Tools > Board, and installed the ESP8266 platform.
This is quite a large download, at over 153 MB as of this writing, so if you’re trying this yourself, it may take a while. After this is done, ESP boards will show up in the board menu. At this point, you’ll need to go to Sketch > Manage Libraries and search for “ESP8266” and install “ESP8266 Microgear.” When I did this, I restarted the Arduino IDE many times along the way, likely more than was necessary.
Running the program
Programming the WeMos board was actually pretty easy. Along the way I downloaded “D1_mini_Examples” as a zip file from GitHub, then added it in the Arduino IDE under Sketch > Include Library > Add .Zip Library.From these examples I learned how to code for a simple application
On connecting the board with system using USB,I was able to access it on COM8 in my Arduino IDE (which conveniently also showed up in the device manager) and selected the WeMos D1 R2 & Mini under Tools > Board. I loaded a blink sketch wrote a code and uploaded it, programming the board to blink its onboard LED. I even adjusted the timing and uploaded it again to make sure it was responding to my commands properly. I have made two of sketches one for the Bulb and other for R.C Car.


Operating Environment
Software Requirements
Arduino-IDE
Embedded C Language.
Hardware Requirements
Car module
Step-Up Transformer
Battery Power Supply
WIFI Module (Wemos)
Microcontroller
Bulb